
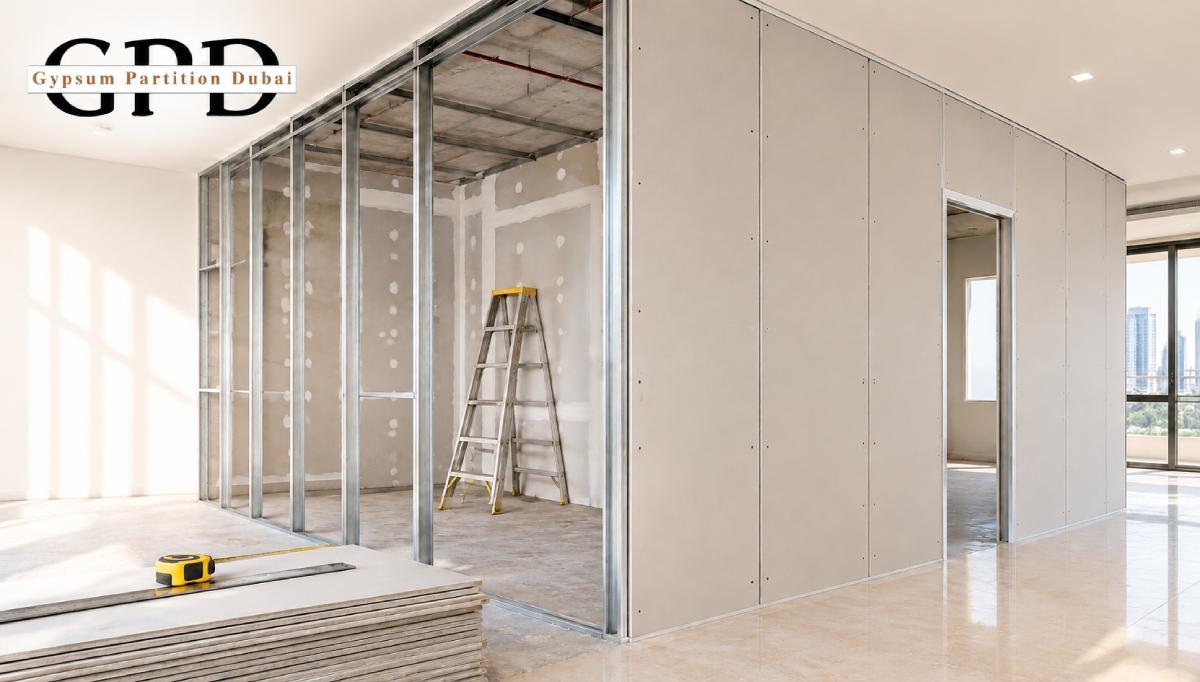
How Long Does Gypsum Partition Installation Take? A Step-by-Step Timeline
One of the most practical ways to change the layout of a home or an office without building a brick wall is to install a gypsum partition. But the question you have before making one is how long will this installation take and when can the room be used once more? The answer will depends on the size and design of the partition, as well as the number of workers on site. A simple partition can take only 2 days for fitting but a fully finished wall will require use of multiple steps to complete it. If you need a step by step timeline for the gypsum partition installation, we have it for you.
7 Steps For Gypsum Partition Installation Process For Faster Fitting
A simple interior partition project will need 2 to 5 days from the preparation work to a painted finish. This installation time will depend on the site preparation, materials available, and other structure work. Follow these 7 steps with the estimated completion timelines for a faster gypsum partition installation.
Step 1: Site Inspection and Measurements
This step takes only a few hours and includes a detailed site visit and assessment of the room. The installer first measures the length and height of the partition and checks the floor and ceiling. They also account for clear doorways, electrical sockets, insulation, and any additional support needed for fixtures. An accurate measurement with a clear design will prevent the risk of inappropriate material cutting.
Step 2: Preparing the Room and Marking the Layout
The preparation of the room and layout marking will take another 2 to 4 hours. Once you approve of the layout, the team will prepare the area by removing the furniture, protecting nearby surface, and clearing any other obstacles. The partition is marked on the floors, walls, and ceiling with marking lines. These lines will help with the installation of the framing and ensure the completed wall is straight and correctly aligned. A good preparation will avoid the task of adjustments later on.
Step 3: Installing the Metal Frame
The metal framework is what forms the structure to support gypsum boards in place and the fitting takes anywhere from 3 to 6 hours. Installers will fix horizontal tracks to your floors and ceiling and then position vertical metal studs at right spacing. The space and framing will be based on the wall height, board material, the intended load bearing, and the system needed for the entire project. You need to take much care during this step because a single mistake can affect the alignment and stability for the finished partition.
Step 4: Adding Electrical Services and Insulation
This not a necessity that every gypsum partition will require the addition of insulation or electrical work but if needed, it can take 2 to 6 hours to complete. You will need to add wiring and checking it works properly before you close the framework. Any electrical work must be handled with qualified professionals. Insulation might be added inside this frame to reduce sound transmission between the rooms. The team will inspect these completed concealed service before covering them with gypsum partition boards. Changes are made after the wall is closed by cutting boards and repeating the part of the finishing work.
Step 5: Fixing the Gypsum Boards
Once the frame and concealed services are ready, the step for gypsum board fitting comes which takes about 3 to 6 hours. The installer will first cut opening for doors, switches, and sockets to check that these panels sit in the frame properly. A small partition will have simple dimensions that can be boarded within a single working day. Large walls, double layer fitting, and numerous openings are all that will increase the fitting time. The board fitting looks simple but the wall is not ready for painting because you need to do finishing for joints, screws, and corners.
Step 6: Jointing, Filling and Surface Finishing
This is the most time-consuming stage of the entire process and usually takes 1 to 2 days. The installer applies joint compound and reinforcing tape to the board joints, covers the screw heads, and treats the corners. Additional coats are applied to create a smooth surface. Some setting compounds harden quickly, while air-drying products may need about 24 hours. It is best never to rush this stage, so that no visible ridges, uneven patches, or imperfections appear after painting.
Step 7: Sanding, Priming and Painting
Once the joint compound has dried completely, start the surface sanding to remove any visible ridges, and create an even finish. Sanding will result in dust and painting can cause splashing, which is why you should protect the room from the surrounding areas. Once the final coat of paint is done, the installer will do some final touchups and remove that protective coverings.
Final Thoughts
Gypsum partition installation is a quick task compared to a traditional brick wall making. Still, the process will include more board fixing on a metal frame. The final timeline of a gypsum partition installation timeline will increase with steps like measurements, framing, concealed services, joint treatment, painting, and sanding. The best way is to discuss the entire project with your contractor and clarify the completion timeline with step by step process. This way, you renovation of the room with a gypsum partition will look neat, feel solid, and is ready for everyday use.
Related Posts
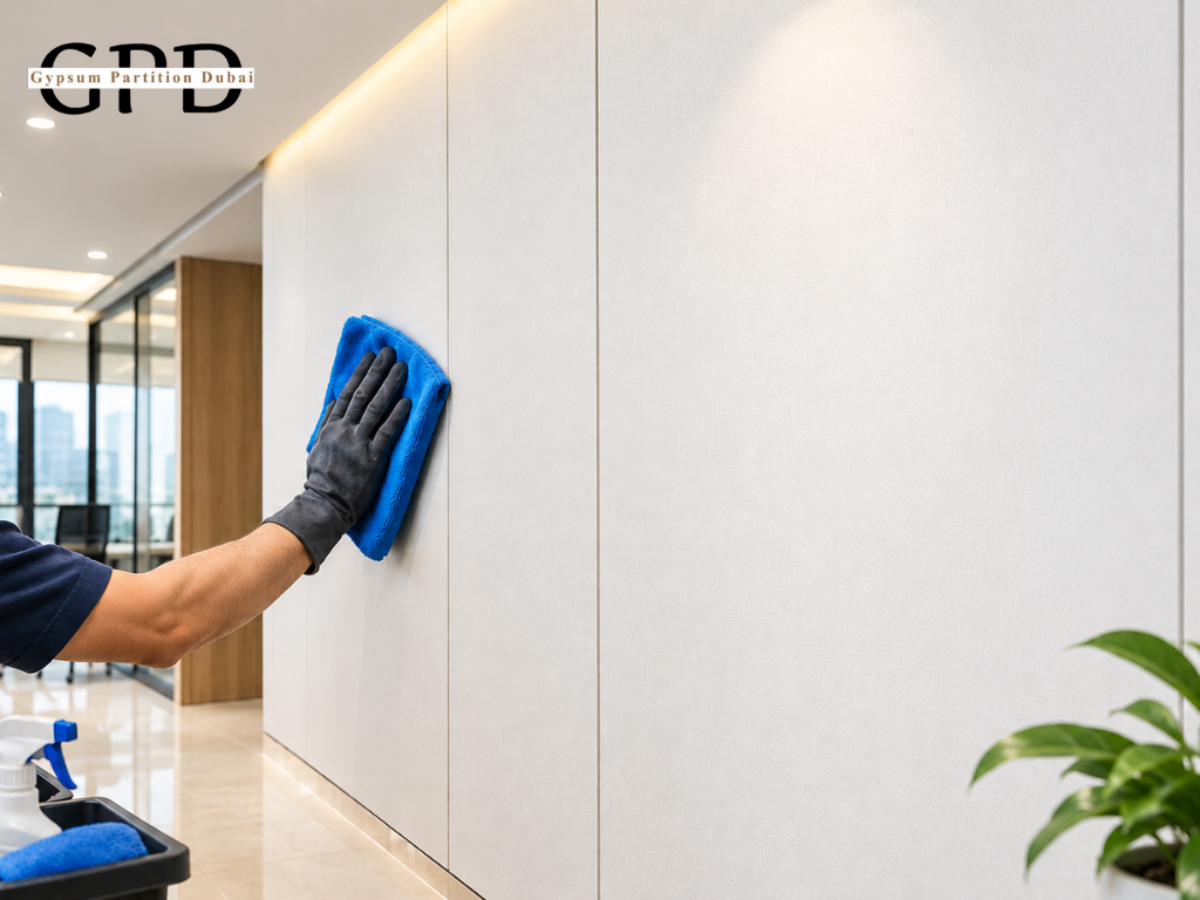
Gypsum Partition Maintenance Tips: How to Keep Your Walls Looking New
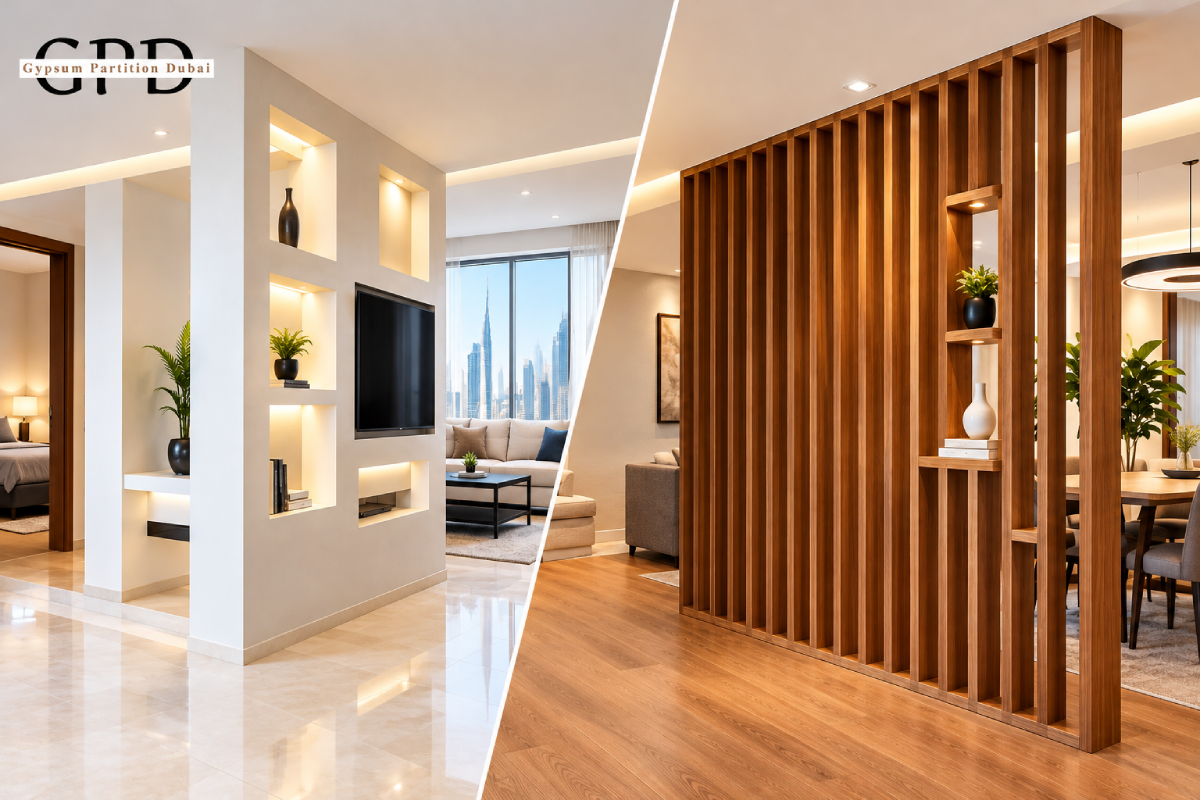
Gypsum Partition vs Wooden Partition: Which Is Better for Dubai Homes?

Smart Space Planning: Using Gypsum Partitions for Small Offices in Dubai
